This guide is structured into 3 parts:
You need to connect your Theta camera to your smartphone (iOS or
Android).
To connect your camera, follow the steps
below:

To get the best out of the Vieweet app, you would need to make sure
that you have the latest firmware version on your camera.
If
you would like to check your firmware, this can be done using the
official Ricoh app or using a personal computer.
For
official guidance from Ricoh, have a look at the following link:
For the starting photo
We recommend turning the back of the Theta camera (the side
without the central button) towards the front door - this way, the
virtual tour will start facing the door.
However, you’re
also able to adjust the orientation of the first picture at the end
of the tour creation. For all the other pictures the orientation
will be automatically adjusted based on the links.
Tripod
Remove the pan
handle from the tripod (otherwise it will appear in the pictures).
For high ceiling properties, increase the height of the tripod.
Where to take pictures
If you are inside we recommend taking your pictures from the
centre of the room.
For open-space rooms we recommend
taking 2 pictures.
Remember to leave the room to not
appear in the picture.
Lighting
Make sure the
lighting is good, if indoors, switch on the lights.
When
taking the pictures outside choose a sunny spot.
Avoid losing connection with the camera
Put the camera in the middle of the room and walk away from
the room keeping your phone in the direction of the camera - this
will help you maintain the connection before taking the picture.
After
taking the picture, move quickly to the Theta camera - this will
help you to not lose the connection between the two devices and will
also speed the image transferring process.
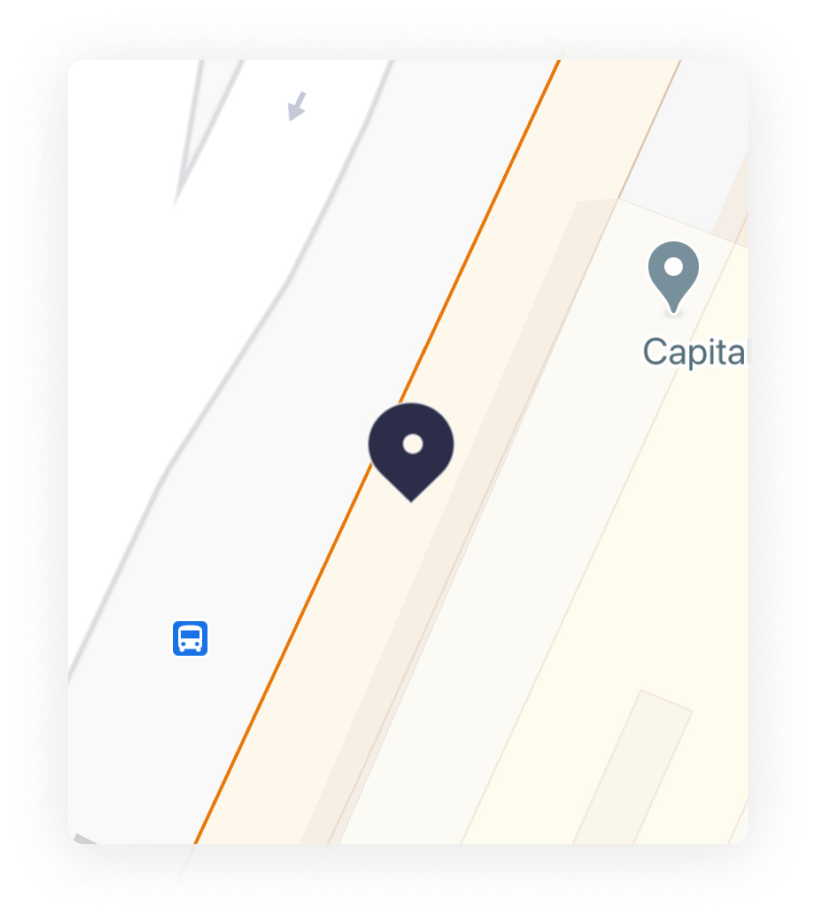
Before starting capturing a new virtual tour you will be prompted to
provide your location access.
Your address will be
automatically populated, if it is incorrect, you can press the
address link to open up a map and manually pick the correct
address.

To pick a different location on the map, tap anywhere you want the
pin to be and it will change.
The updated address will
automatically be displayed in the address field at the top of the
screen.
If you have a reference code for the tour you can enter it here. You
can use numbers or alphabetic characters for reference codes.

House
Single or duplex property.
Flat
Single or multiple-storey flat.
Commercial
Non-residential property.
Other
If
your property doesn't fit in any of the above categories, you
can add a custom label.

The studio is where you capture, label and link your virtual
tours
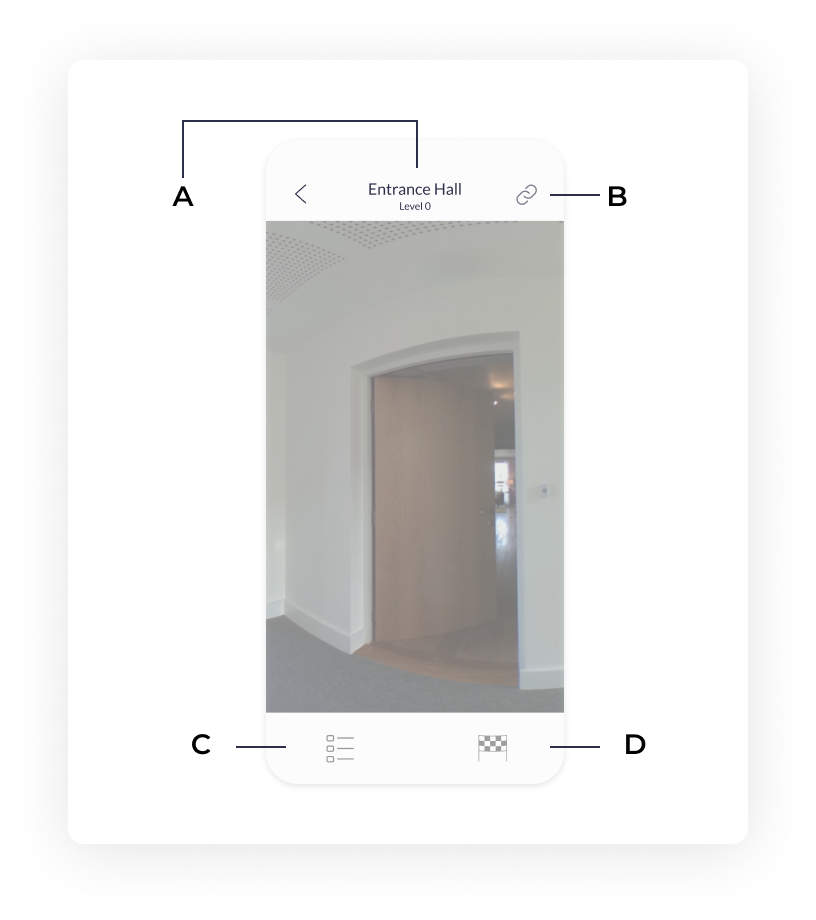
The studio is made up of the following features:
A-
Labels and levels
Select a label for the image from
a pre-populated list, or add your own custom label.
You can
select the floor level by tapping here.
B-
Your Links
View which images are linked not linked in
incoming / outgoing directions.
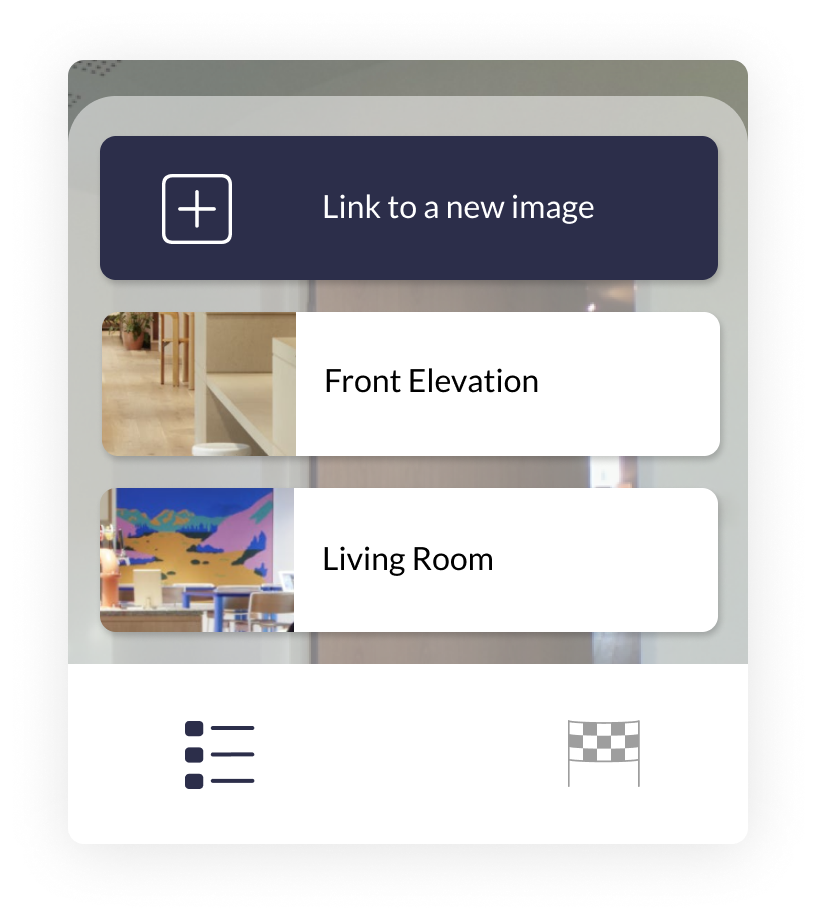
C- Room list
A list of your previously captured images that you can jump
into at any time.
D- Finish tour
Exit the
studio mode and in to the tour review, before the option to upload
or save the tour.
For the starting photo
When you start creating your virtual tour - If your camera is
not connected, you will be prompted to connect to your Theta camera.
A walkthrough is also provided in the app to help guide you through
the process of reconnecting your camera if needed.
If
you do not wish to connect your camera, you are also able to import
images from your camera photo album.
Once you have
captured or selected an image, you will be prompted to label the
property:
You will always be prompted to label a property after capturing an
image.
In order to find the right label, you have three
options:

Tap on the Label name in the header and you will be prompted with
the levels and room labels to change when needed. You can change the
labels and levels at any point in the tour.
Once you
have labeled your image, you are prompted to create links.
These links serve as a ‘call-to-action’ that a tour
viewer is able to press to navigate themselves around a tour.

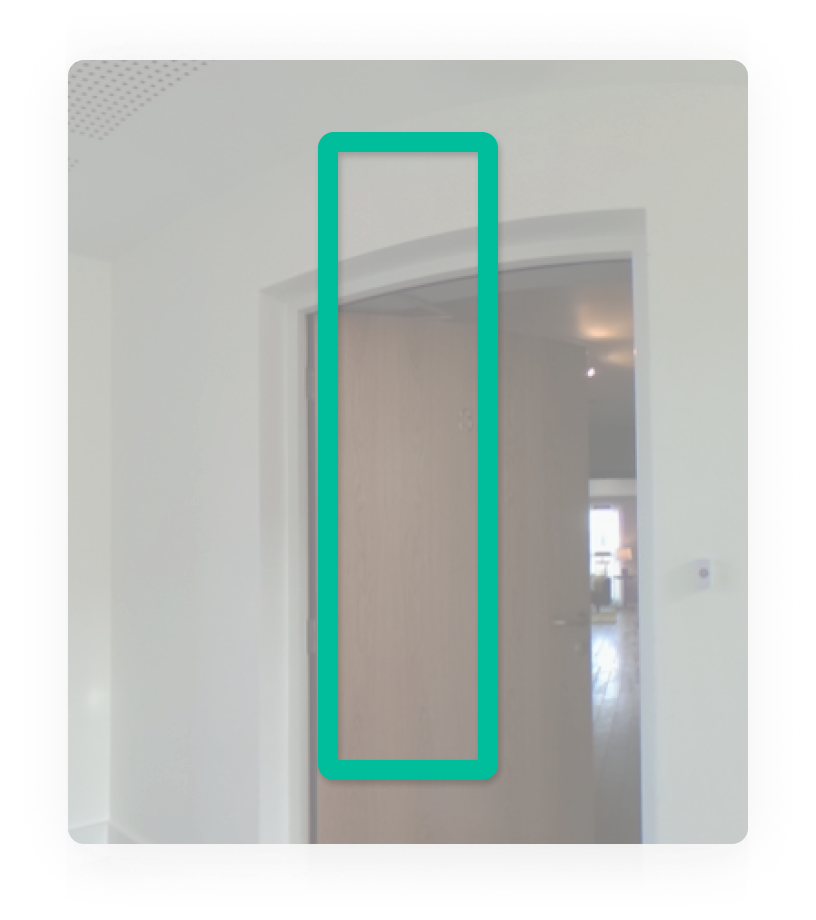
Tap and hold for 1 second the area you want to link to be.
You
will then be prompted to choose a destination (a new room or your
existing rooms).
After creating a new link, you can tap anywhere on the screen to
reposition it.
You can reposition the link only before
selecting a destination - if the destination is already chosen, you
need to delete the link to create a new one.
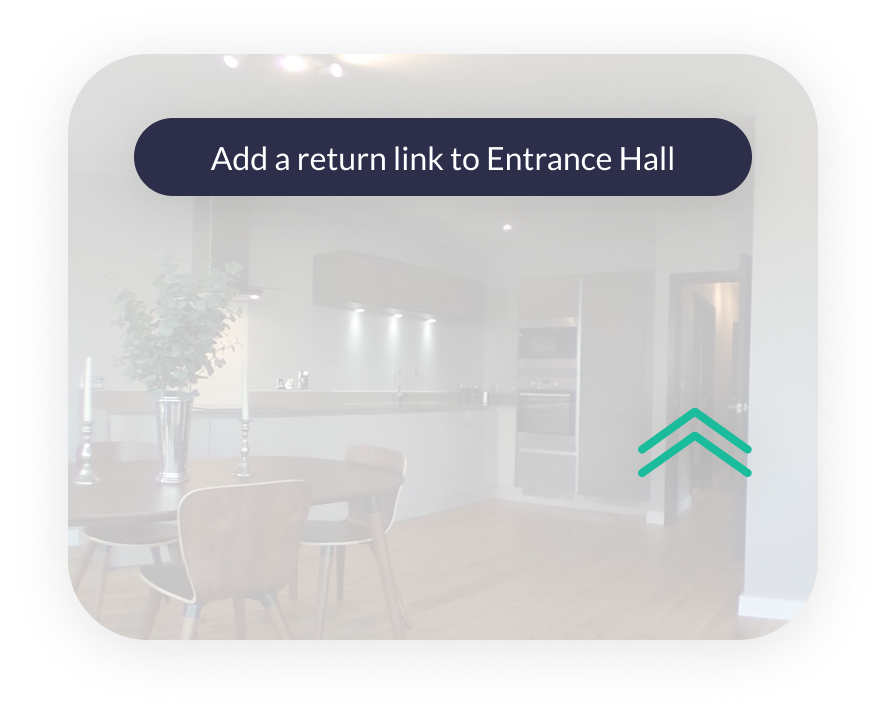
Return links
After you
capture your second image, you will be prompted to add a return link
to your image.
A return link is a connection back to
your previous image. We have created return links to help you
connect your tours both forwards and backwards.
How returns-link works: if you have created a link from the
bedroom to the bathroom, the return link is from the hallway back
to the kitchen.
Following this you will be able to continue creating a tour as you
have done previously.
Once you have captured and linked at least 2 images - you will be
able to jump between your existing images if you wanted to revisit
old images and add or amend your links.
Click on the image list icon (at the bottom left corner) and select
the images where you want to add more link(s).
Tap and
hold for 1 second on the image to create the new link.
When you have completed a tour, you may want to double check if all
your images are connected correctly.
Your Links is available during a tour, by taping on the icon in the top right
corner. It allows you to see what image(s) may be missing a link.
All
your images will be displayed in boxes that show you all the link
connections among them.

During your tour creation, if you see a red icon this means you are
missing a link. Tap the icon and Your Links tab will be
displayed.
If a link (or more) is missing the room
icon(s) will appear in red - tap on the red icon to go to the studio
screen for that specific image to create the missing link(s).

Upon finishing in the Studio, you will reach the ‘review your tour’
screen. Over here, you have the the options to:
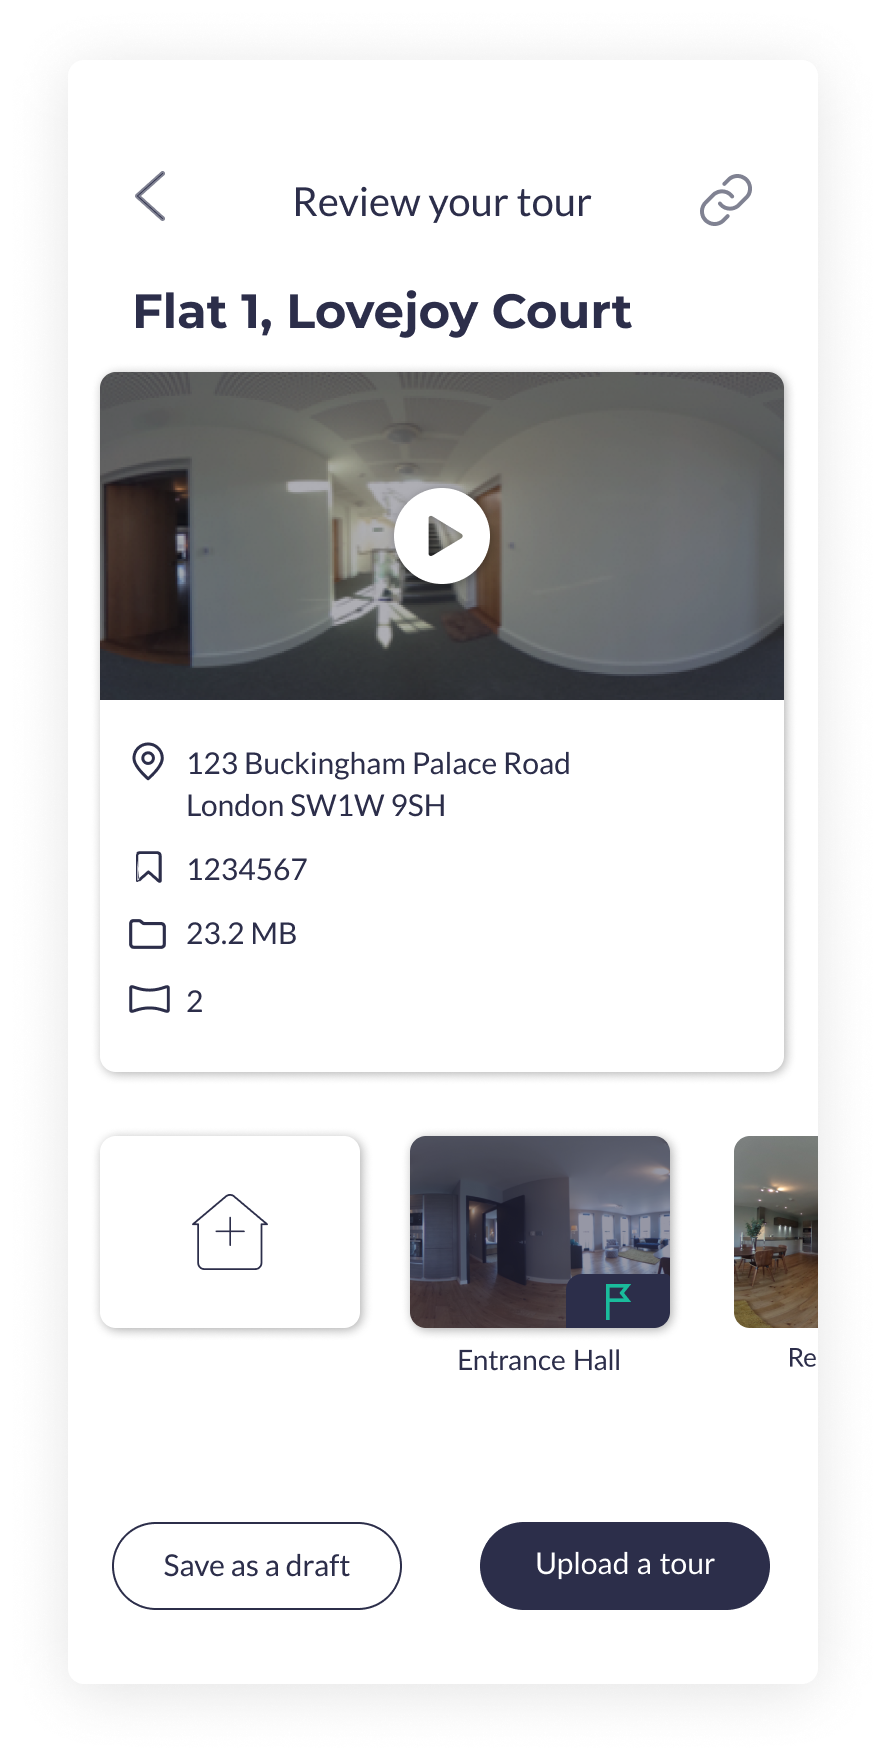
You are able to edit specific images you have captured. You can do
this by tapping and holding on the thumbnail of an image for 1
second. You will be prompted with a list of options
You are able to replace an image, by capturing a new image with your
camera or importing from your photo album. When you replace an
image, the room label will stay the same.
After
replacing an image, you will be asked if you want to keep the
existing links (in their original locations) or replace with new
ones. Choosing to replace will delete all existing links.
Please note: links from other images will not be affected, but
you may need to add return links if you have to replace them.
Add or remove as many links as you would like within a chosen image.
You can finish the tour, or continue capturing more images.
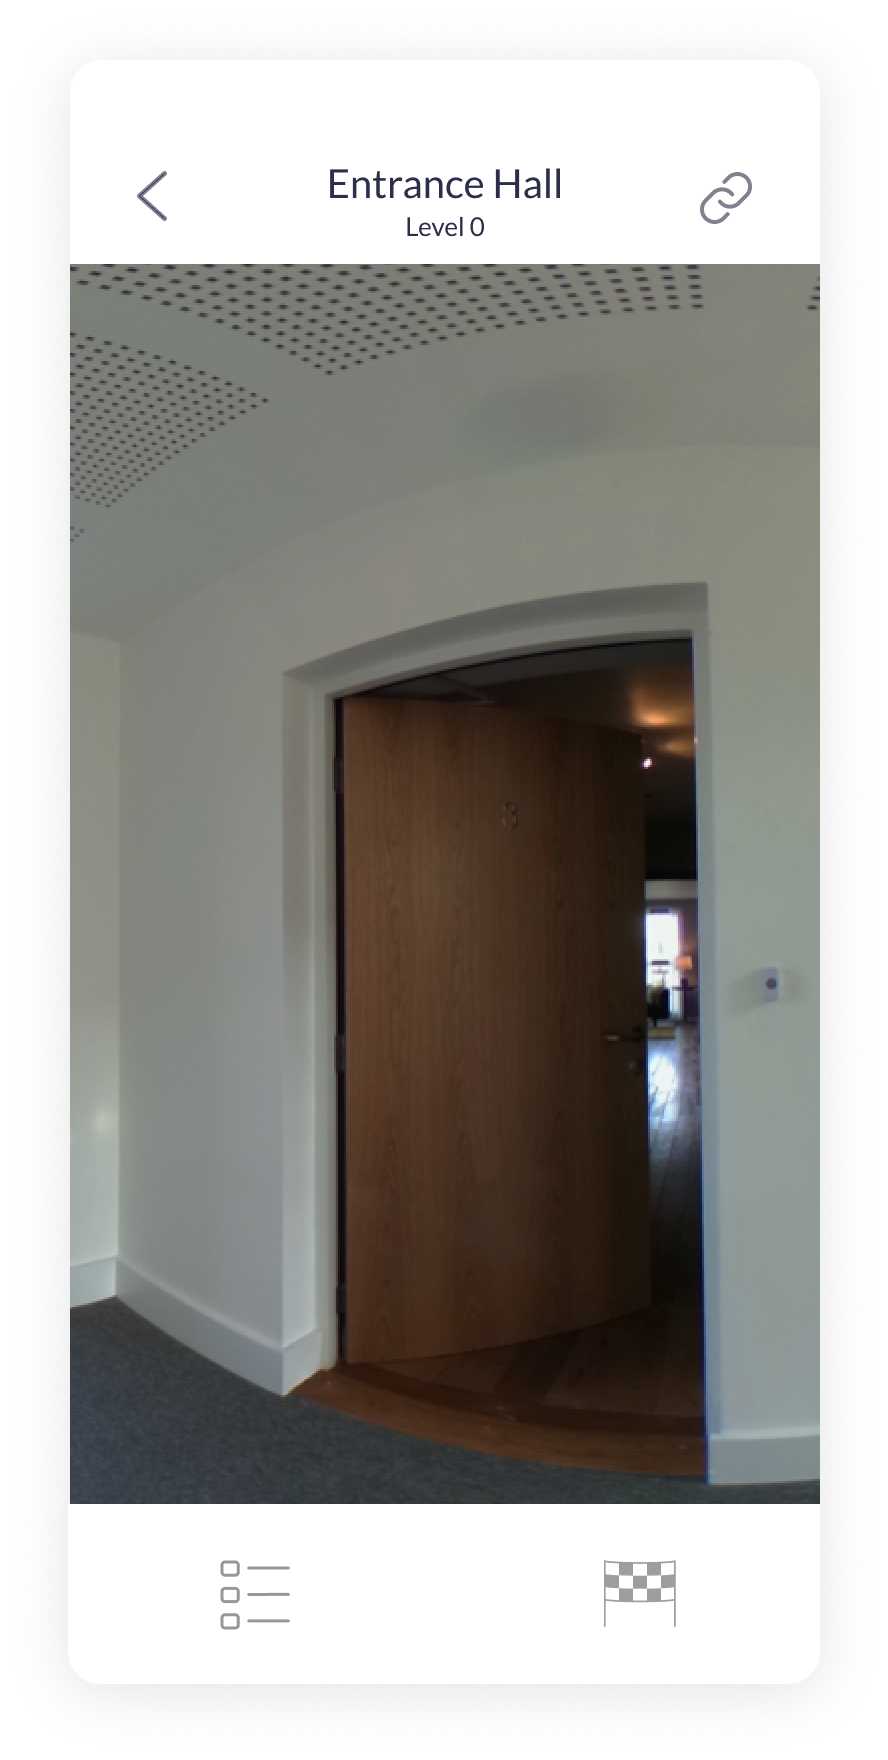
You can set the angle at which you would like your virtual tour to
start at, by moving left or right within the screen.
Tap
Select Starting Point when done.
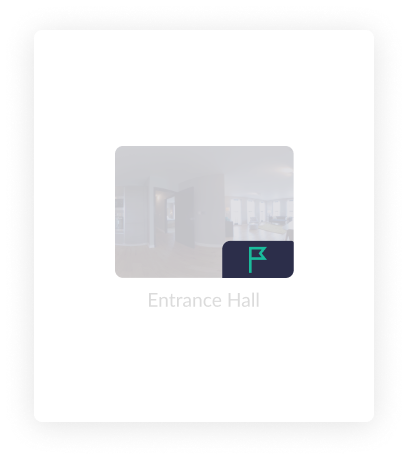
Tap and hold the image thumbnail that you would like to make the
starting image. After you have chosen the
Make starting image option, then you should see the
flag symbol on the thumbnail.
This symbol means
that this will be the first image for your virtual tour.
Deleting a room will cause all related links to be deleted along
with the chosen image.
Please note: when you delete a room image, it is permanently
deleted and cannot be recovered.
You are able to export an image to your photo album. This can be
useful if you want to improve the brightness or contrast
Tap on the title to change the name of your tour.
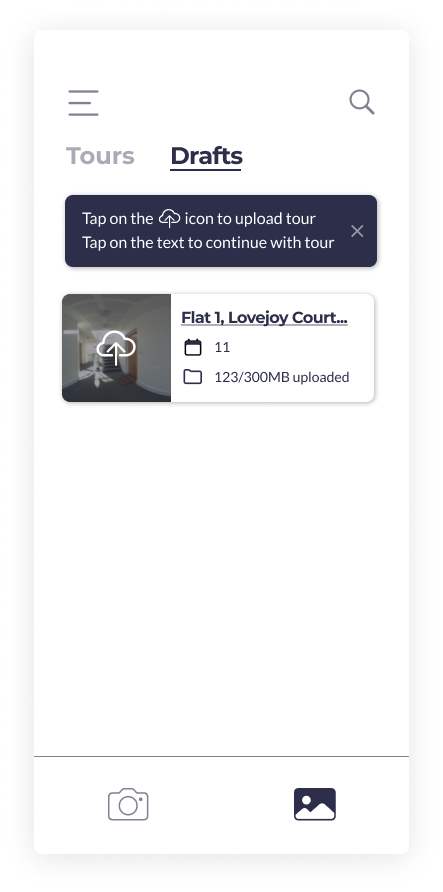
If you wish to upload your tour at a later time, you are able to
save it as a draft. You are also able to edit, upload or delete your
draft tours .
Please note: If you delete a draft at any point before it is
fully uploaded it cannot be recovered